


Frère
GTX - Kit Complet de Plateau à Chapeau T-Lock
GTX - Kit Complet de Plateau à Chapeau T-Lock - Default Title
SKU:
L'impression de t-shirts est un excellent moyen de construire les fondations de votre entreprise, mais pourquoi s'arrêter là ? Grâce au kit de plateau pour casquette, vous avez désormais la possibilité de créer des couvre-chefs personnalisés, ce qui vous aide à élargir votre offre de produits et à augmenter vos ventes. Les imprimantes Brother GTX DTG ont un grand écart entre la tête d'impression et le substrat, ce qui leur permet d'imprimer du haut de la calotte jusqu'à la visière sur la plupart des types de chapeaux, y compris en passant par-dessus la couture.
Le kit complet de plateau pour casquette comprend les inserts suivants :
- Base de plateau pour casquette
- 2 rehausseurs
- 1 entretoise
- 1 kit d'accessoires
In stock
Impossible de charger la disponibilité du service de retrait
Product Resources


Souvent achetés avec
-
Système d'alignement visuel AccuLine pour Brother DTG
AG304Prix habituel $1,800.00 CADPrix habituelPrix unitaire par -
GTX - Plateau pour vêtements surdimensionnés - 16'' x 21''
SB6992001Prix habituel $2,839.00 CADPrix habituelPrix unitaire par -
-
Brother GTX Pro B
gtxpro-b -
Frère GTX 600
GTX600


Additional Information
1. Pretreat the cap with the appropriate type of pretreat. Use polyester pretreat for printing CMYK only ink on light garments or use Brother DTG pretreat for printing with white ink on dark-colored caps.
2. Cure the pretreat using a heat gun or conveyor dryer/oven.
3. Load the Cap Platen on the Brother GT Printer with the appropriate riser based on the type of cap being printed. It is recommended for structured caps to use the Small Riser and the Large Riser for unstructured caps.
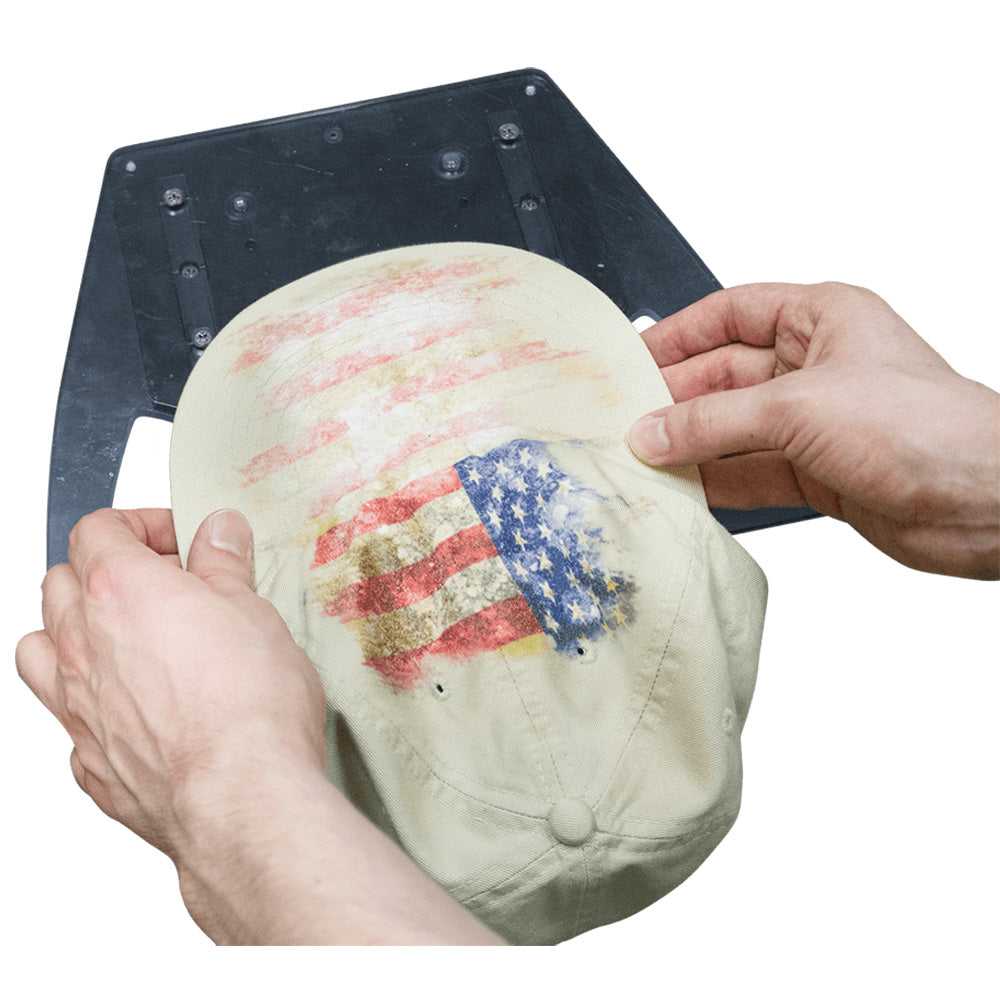
4. Load the blank cap on the Cap Platen by flipping the sweat band down and sliding it under the front lip of the riser.
5. Use the vertical line on the Cap Platen to align the cap straight prior to securing the bill of the cap using the included black clips.
6. Pull the crown of the cap over the riser and secure it to the back of the Cap Platen. Try to make the crown of the cap as flat as possible across the riser.
7. Using the included artwork template for the Cap Platen or AccuLine Camera System, determine the appropriate position of the artwork.
8. Select the desired print settings and send the print file to the Brother DTG printer. For printing on the crown and bill of the cap, create the print file for uni-directional print mode. Print the blank cap by pressing the green button.
9. Carefully remove the printed cap from the Cap Platen.
10. Cure the printed cap using a heat gun or a conveyor dryer/oven.